01
All Services
See the full service directory to compare renovation, repair, and trade-work options.
Explore pageBathroom and toilet waterproofing for HDB flats, condos and landed homes in Singapore. We hack, screed, lay and test a new membrane, then retile, so water stays in the wet area.
Toilets and bathrooms are the wettest rooms in any home. When the membrane under the tiles fails, water seeps into the slab and shows up as stains in the unit below or damp walls next door. Proper toilet waterproofing means a new membrane, correctly detailed around floor traps and pipes, and proved with a ponding test before any tile goes back.
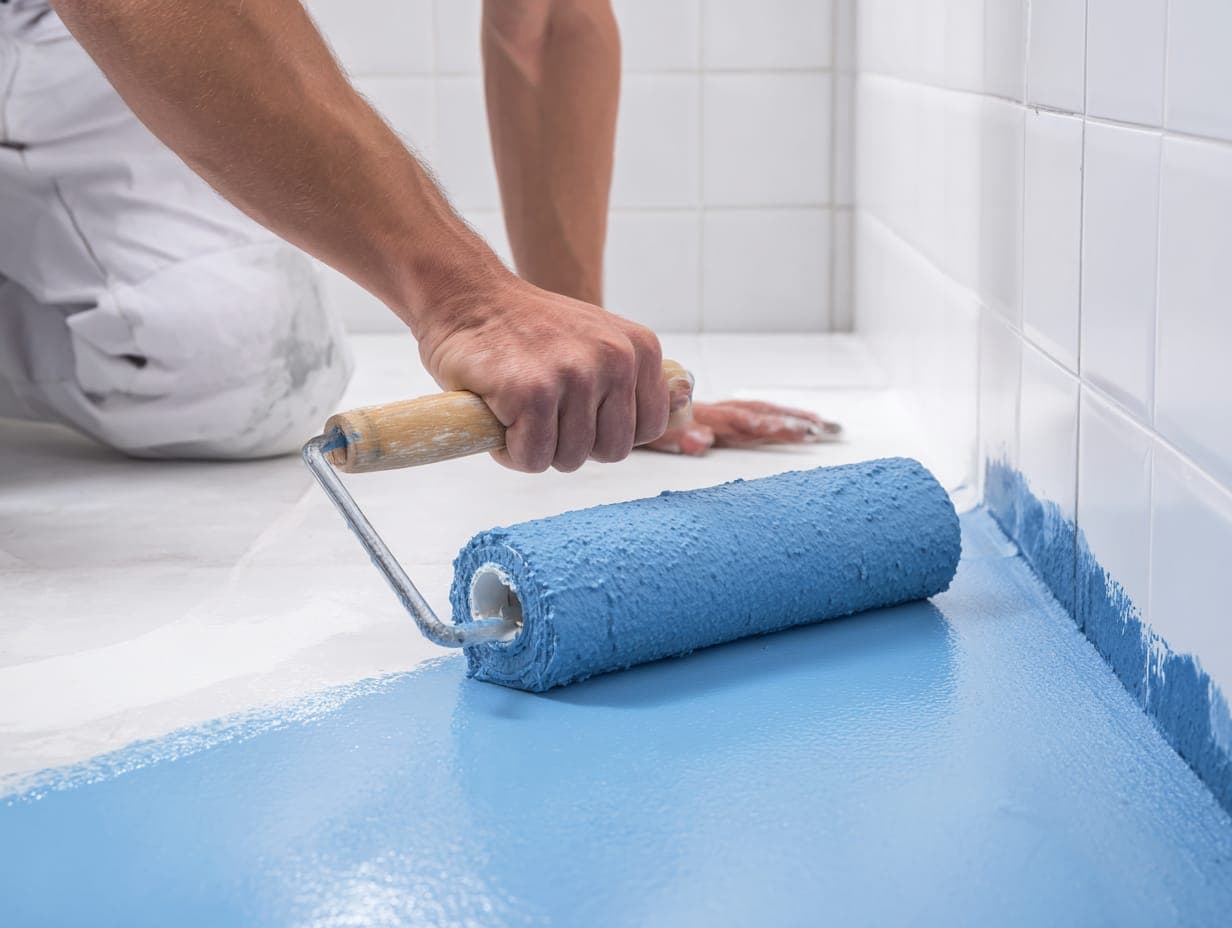
High-quality waterproofing membrane applied to floors and walls up to required height.
Proper sealing around floor traps and drainage points.
Waterproofing of wet area walls including shower areas.
Flexible sealant application at wall-floor junctions.
Waterproofing around all pipe penetrations.
Ponding test to verify waterproofing integrity.
Failed waterproofing rarely shows inside the bathroom itself, because the tiles still look fine. The signs usually appear around it:
If the problem is a single source, such as a toilet bowl seal, a floor trap or a pipe joint, you may not need the whole floor redone. Our bathroom and toilet leakage repair service handles those targeted fixes. If the damp is on a wall in the next room, see our guide to wall leakage and water seepage.
Not every bathroom leak needs the whole floor hacked. The decision depends on what has failed.
| Situation | Usual approach |
|---|---|
| Leak only when the toilet is flushed | Bowl seal, outlet connection or cistern repair. Little or no hacking. |
| Damp that never dries, even when the bathroom is not used | Concealed supply pipe repair: open the wall or floor at the leak, replace, pressure test. |
| Leak around the floor trap only | Localised repair of the trap and the membrane around it, then ponding test. |
| Stain below after every shower, across a wide area | Membrane failure. Full re-waterproofing of the floor and lower walls. |
| Old bathroom you plan to renovate anyway | Re-waterproof as part of the renovation so tiles are only replaced once. |
Surface treatments sold as bathroom leakage treatment, such as clear tile sealers and grout injection, can slow water at the surface for a while. They do not repair a failed membrane under the tiles, so the leak often returns. For a breakdown of what moves the price, read our water leakage repair cost guide.
The membrane is the layer that actually keeps water in the bathroom. These are the main types used in wet areas. The right choice depends on the substrate, the tiles going on top and how the floor is detailed, and we explain the system we propose in the quotation.
| Type | What it is | Strengths | Watch out for |
|---|---|---|---|
| Cementitious (polymer-modified) | A two-part cement and polymer coating brushed or trowelled on in layers | Bonds well to concrete and screed, tiles stick to it well, tolerant of damp surfaces | Less flexible than liquid membranes, so corners and joints need reinforcing |
| Liquid-applied (polyurethane, acrylic or similar) | A liquid that cures into a seamless rubbery layer | Flexible, no joints, easy to carry up walls and around pipes and floor traps | Needs a dry, clean surface and the right thickness; some types need a primer or bonding coat for tiling |
| Sheet membrane | Factory-made sheets bonded to the floor and lapped at the joints | Consistent thickness across the floor | Laps, corners and penetrations are weak points if not detailed carefully; less common in small bathrooms |
Whatever the material, most failures happen at the details: the wall-floor junction, the floor trap, pipe penetrations and the shower area. That is where reinforcement and extra coats go, and where the ponding test proves the work.
| Stage | What happens |
|---|---|
| Protection and hacking | Protect the rest of the home, remove fittings, hack tiles and old screed down to the slab. |
| Slab repair and screeding | Fill cracks and holes, form falls towards the floor trap, let the screed set. |
| Primer and membrane | Apply primer, then the membrane in coats, reinforced at corners, junctions, floor traps and pipes. |
| Ponding test | 48 hours with the floor flooded while the ceiling below is checked. |
| Protective screed and tiling | Screed bed over the membrane, then wall and floor tiles, grout and sealant. |
| Fittings and handover | Sanitary fittings reinstalled, final check of falls and drainage. |
In total, a typical bathroom takes about 7 to 10 days including curing time. Larger bathrooms, full-height retiling or slab repairs can take longer.
Wet-area works affect the flat below, so they are regulated. In HDB flats, works that disturb bathroom floor finishes and waterproofing must follow HDB's renovation guidelines and be done by a contractor on HDB's Directory of Renovation Contractors, and new flats have a three-year restriction on hacking bathroom and kitchen tiles. Condos usually need MCST approval and have set working hours. We handle HDB and MCST applications as part of the job.
If the leak has already stained the ceiling below, the neighbour's ceiling repair should wait until your ponding test has passed and the slab has dried. For leaks that started in a unit above yours, see water leakage repair.
Hacking of existing tiles (if required) and thorough surface cleaning.
Repair any cracks, holes, or damaged areas in the substrate.
Apply bonding primer to ensure membrane adhesion.
Multiple coats of waterproofing membrane with reinforcement at corners.
48-hour water ponding test to verify no leaks.
New tile installation with proper waterproof grout (optional).
In most cases, yes. The existing tiles and screed need to be removed to apply waterproofing membrane directly to the structural slab for best results.
Complete bathroom waterproofing including hacking, membrane application, and tiling takes approximately 7-10 days including curing time.
Not the one being worked on. Plan to use another bathroom for about a week to ten days. If it is your only toilet, tell us at the site visit so we can plan the sequence around it.
We provide up to 10-year warranty on our bathroom waterproofing works, covering any water seepage issues.
Surface waterproofing is possible but less effective. We recommend full membrane waterproofing for lasting results.
Bathroom size, whether walls as well as floors are retiled, the condition of the slab, the membrane system, the tiles you choose and how many fittings are removed and reinstalled. We quote by item after a free site visit.
HDB does not allow hacking of bathroom and kitchen floor and wall tiles in a new flat for the first three years, to protect the original waterproofing. Check HDB's current rules for your flat before planning any wet-area work.
Compare this service with related options, review our process, browse recent work, or reach out for a quotation.
See the full service directory to compare renovation, repair, and trade-work options.
Explore pageUnderstand our consultation, planning, build, and handover process before you enquire.
Explore pageBrowse completed project photos and videos across residential and commercial spaces.
Explore pageTell us about your project and get a clear recommendation with transparent pricing.
Explore pageTell us about your space and we'll respond with a clear plan and a transparent quote.